Exploring the World of Coffee Art: Latte Art Techniques and Tips
It is one of the rising trends among coffee aficionados and baristas. Formative art can add visual appeal to your cup of coffee and enhance the overall coffee drinking experience. This blog post explores latte art, its history, techniques, and shares some pointers for mastering this form of art.
Brief History of Latte Art
Latte art had its roots in Italy, the motherland of espresso. Such popularity was achieved by it during the 1980s and 1990s due to the great innovation pushed forward by American and Japanese baristas. That’s when people discovered that espresso combined with micro-foamed milk created the perfect setup for intricate designs as if to realize the simple act of elevating a cup of coffee into a masterpiece.
The history of latte art is both rich and intriguing. It originated in Italy during 1980s the home of espresso. The technique gained prominence when David Schomer, an American barista and coffee roaster began to advocate for it in Seattle. Schomer’s careful methods in espresso preparation established a groundwork for contemporary latte art. He also emphasized milk steaming. His contributions, alongside the emergence of specialty coffee movement propelled latte art into forefront of coffee culture.
Japan also significantly influenced the development of latte art. Japanese baristas enthusiastically adopted the technique. They expanded possibilities of steamed milk and espresso. They introduced more elaborate designs. They even ventured into 3D latte art. They utilized thick foam to create sculptural figures that rise above coffee’s surface. This era of creativity and global exchange of techniques helped to entrench latte art as cherished element of coffee culture around the world.
Currently latte art is celebrated in coffee establishments worldwide. Competitions such as the World Latte Art Championship highlight the remarkable skill and creativity of baristas. These events have further refined techniques and styles of latte art. They motivate both professionals and home enthusiasts. Many aim to enhance skills So latte art has become more than just decoration It is an expression of craftsmanship and artistry
Essential Tools for Latte Art
The first thing you will need in latte art is the following equipment:
- Espresso Machine: A good espresso machine is necessary for the creation of a perfect shot of espresso.
- Milk Frother: It could be in the form of a steam wand or an electric frother, but it produces the microfoam necessary for latte art.
- Milk Pitcher: A stainless steel milk pitcher with a pointed spout contributes towards the smooth flow while pouring your design.
- Thermometer: This is used to check the temperature of the milk, which should lie in between 150-155°F or 65-68°C.
Basic Techniques
Latte art begins with free pouring, a fundamental technique where steamed milk is poured directly into espresso to create various designs. Here are some simple patterns to get you started:
Free Pouring
Free pouring is undoubtedly the most applied latte art technique. It means simply pouring steamed milk directly into the espresso to create designs. Here are some easy designs with which to get you started:
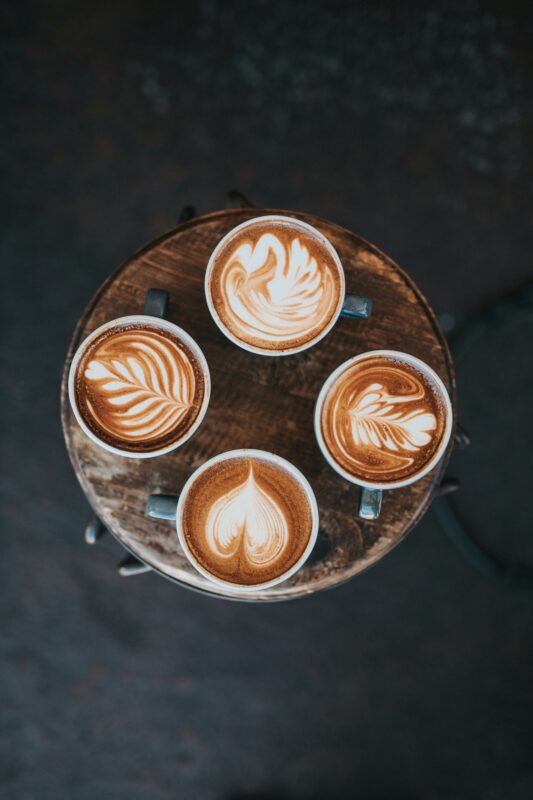
Heart
Start pouring the milk to the center of the espresso; then pick up the pitcher a little and pour out consistently. Lower the pitcher as you get toward the top, finishing with a quick flick.
Rosetta
Using the same method as the heart, but wiggle the pitcher from side to side as you pour. As you finish, pull the pour through the center of the pattern to create a stem.
Tulip
Pour a series of hearts, each one slighting smaller and overlapping the one before. Finish with a quick pull through the center.
Etching
One pours the milk and draws in the foam with tools. This method allows creating finer and more elaborate artifacts.
Tools and Tips for the Perfect Cup
Creating intricate latte art goes beyond just pouring milk into coffee. Follow these tips and use the matching tools to achieve the best possible result in your cup.
Latte Art Pen
Drawing fine lines and shapes in the foam.
Cocoa Powder or Syrups
Adding colors and flavour to your designs.
To master latte art, start with a perfect shot of espresso that has a rich crema. Next, focus on steaming the milk correctly to achieve a smooth, velvety microfoam without any large bubbles. Remember, creating beautiful latte art takes patience and a lot of practice. Begin with simple designs and gradually work your way up to more complex patterns.
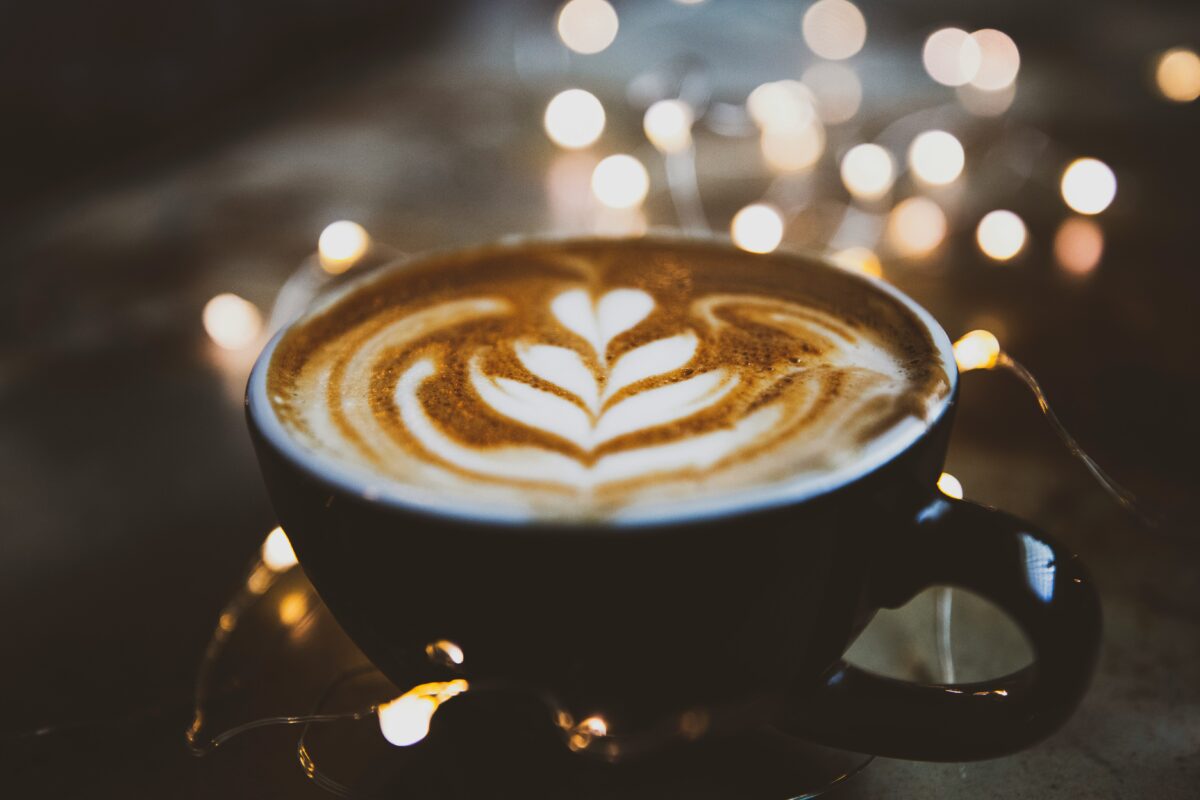
To elevate your latte art skills, consider watching detailed online tutorials and taking courses that provide step-by-step instructions and additional tips. There are numerous resources available that cater to both beginners and advanced learners, ensuring you receive comprehensive guidance.
Advanced Latte Art Techniques
Once you’ve mastered the basics, challenge yourself with more advanced designs. Here are a few to try:
- Swan: This intricate design requires several pours and precise etching, making it one of the most advanced latte art patterns.
- 3D Art: Create three-dimensional figures using thick foam and specialized etching tools. This technique adds depth and a unique visual element to your coffee.
- Multi-Colored Art: Incorporate colored syrups or powders to add an extra layer of creativity and imagination to your designs, allowing for vibrant and eye-catching patterns.
By consistently practicing and experimenting with these advanced techniques, you can transform your latte art skills and impress with stunning, professional-quality creations.
All Details at a Glance
| Technique | Pattern | Milk Type | Recommended Beans | Details |
| Free Pouring | Heart | Whole Milk (creamy texture) | Sumatra Mandheling | Pour milk slowly in the center, lift pitcher slightly, and finish with a quick flick through the center. |
| Free Pouring | Rosetta | Whole Milk | Ethiopian Yirgacheffe | Pour milk in a zigzag motion, then pull through the center to create the stem. |
| Free Pouring | Tulip | Whole Milk | Guatemala Antigua | Layer multiple small hearts, finishing with a quick pull through the center. |
| Layering | Multiple Layers | Whole Milk | Colombian Supremo | Pour milk at different heights and speeds to create distinct layers. |
| Etching | Intricate Designs | Whole Milk | Costa Rica Reserve | Use a latte art pen or toothpick to draw designs like flowers or portraits. |
| 3D Latte Art | Sculptures | Whole Milk | Hawaiian Kona | Sculpt foam into shapes using a spoon or spatula, then add details with a latte art pen. |
| Multi-Colored Art | Colorful Patterns | Whole Milk with added syrups or powders | Peruvian Coffee | Incorporate colored syrups or powders into the milk to create vibrant and multi-colored designs. |
| Free Pouring | Heart | Oat Milk (creamy, slightly sweet) | Brazilian Santos | Oat milk provides a creamy texture suitable for heart patterns. Pour slowly in the center and finish with a flick. |
| Free Pouring | Rosetta | Almond Milk (light, nutty flavor) | Mexican Chiapas | Almond milk’s lighter texture is ideal for creating unique rosetta patterns. |
| Etching | Intricate Designs | Soy Milk (smooth, neutral flavor) | Organic Honduras | Soy milk works well for etching detailed designs. Use a latte art pen for best results. |
Use the Best Coffee Beans for Your First Latte Art Project
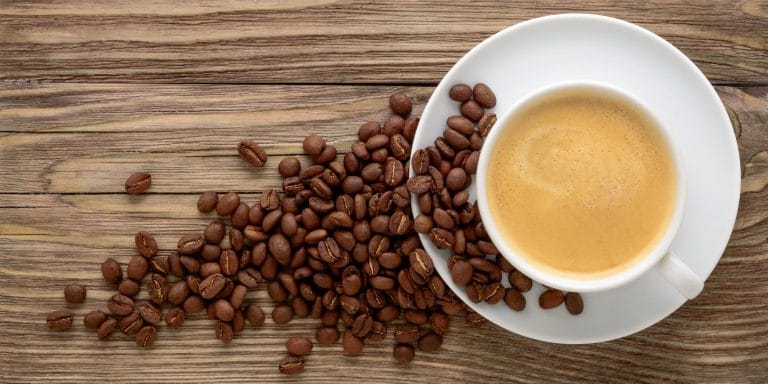
Starting your latte art journey with the best coffee beans is essential for achieving optimal results. High-quality beans contribute significantly to the flavor and crema, which are crucial for creating beautiful and lasting designs. Opt for freshly roasted beans with a rich aroma and robust flavor profile to enhance both the taste and appearance of your coffee. Using premium beans ensures a smooth and creamy texture that blends perfectly with steamed milk, allowing for more precise and intricate latte art.
To get started on the right foot, browse our selection of premium coffee beans that are perfect for your first latte art project. With a wide variety of beans from around the world, you’ll find the ideal match to elevate your coffee-making experience and impress with your latte art creations.


